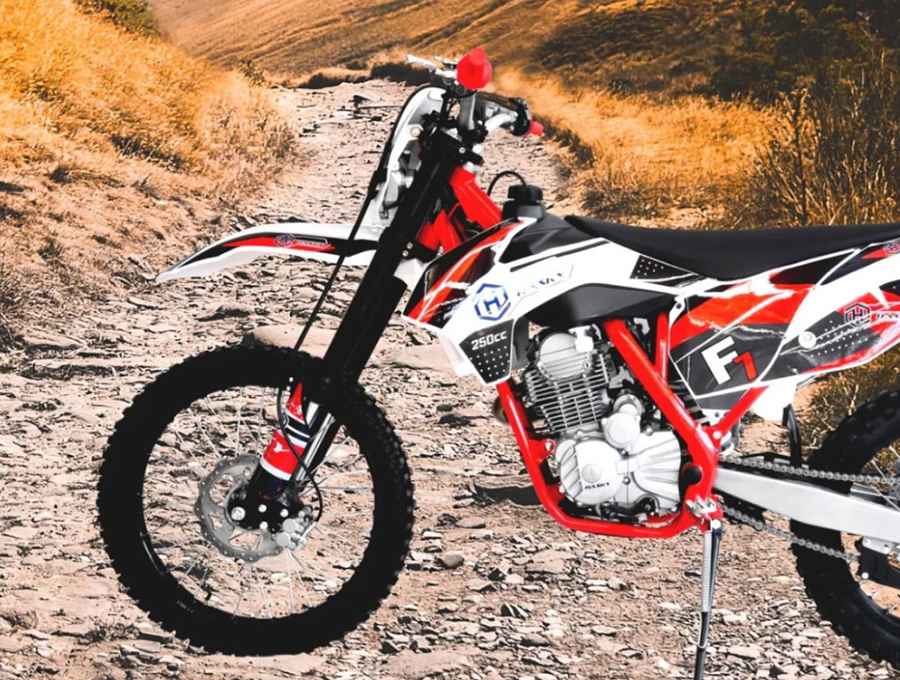
DIY Guide: Installing Bike Handle Grips at Home in Australia
Are you looking to refresh your bike’s feel or simply need to replace worn-out grips? Installing new bike handle grips is one of the easiest yet most satisfying DIY upgrades you can give your bike. Not only does it ensure a better grip and enhanced comfort, but it also allows you to add a personal touch to your ride.

Whether you’re tackling rough trails or navigating the busy city streets across Australia, having the right grips can significantly improve your cycling experience. This guide will walk you through each step of replacing your motorbike handle grips at home, ensuring you get back on the road or trail in no time.
Why are Bike Handle Grips so Important?
Bike handle grips are essential for maintaining control and comfort during rides. They absorb some of the vibrations from the road and reduce strain on your hands, wrists, and arms, which is especially important on uneven Australian terrains. If you've been experiencing slips or discomfort, it’s a clear sign that your grips need attention.
What You'll Need
Before starting, make sure you have the following tools and materials on hand:
- New bike handle grips
- Rubbing alcohol or soapy water
- A small flat-head screwdriver or Allen wrench (depending on your handlebar ends)
- Compressed air (optional but helpful)
- Hair dryer (optional for stubborn grips)
Steps to Install Bike Handle Grips at Home
Follow these easy DIY steps to replace your bike handle grips by yourself at home for a comfortable and safe ride:
Step 1: Remove Old Grips
To make room for your new grips, you first need to remove the old ones. If your bike has plastic or metal caps on the ends of the handlebars, use your screwdriver or Allen wrench to remove them. Then, slide a screwdriver carefully under the grip to gently pry it away from the handlebar. If it’s particularly stubborn, applying heat with a hair dryer can soften the material, making it easier to remove.
Step 2: Clean the Handlebars
Once the old grips are off, it’s essential to clean the handlebars thoroughly. Any dirt, grime, or residue can hinder the installation and adherence of your new grips. Wipe down the bars with a rag and some rubbing alcohol. Ensure the handlebars are dry and free of any sticky substances before proceeding.
Step 3: Prepare Your New Grips
Now that your handlebars are prepped and ready, take a moment to prepare your new bike handle grips. If they're particularly tight or made from a rigid material, consider soaking them in hot water for a few minutes to make them more pliable. Alternatively, if you have compressed air, you can use it to help slide the grips onto the handlebars by inserting the nozzle under the grip and inflating it slightly as you push it onto the bar.
Step 4: Install the New Grips
Align the new grip with the end of the handlebar and slowly push it onto the bar. If you used water or alcohol to remove the old grips, you could also use it here to help slide the new grip on more easily. Just apply a small amount inside the grip and on the bar. If you’re using compressed air, insert the nozzle under the grip as you push it onto the handlebar to help it slide on smoothly. Once the grip is in place, give it a few minutes to dry and adhere properly to the handlebar. Repeat this process with the other grip.
Step 5: Secure the Grips
If your new grips have locking mechanisms, now is the time to secure them. This usually involves tightening a screw or bolt at the end of the grip to clamp it onto the handlebar. Ensure these are tight enough to prevent any movement during rides but not so tight that they cut into the grip material.
Step 6: Replace End Caps
Once both grips are securely in place, reattach the end caps you removed earlier or install new ones if your grips came with them. These caps not only complete the look of your bike but also prevent injuries and protect the ends of your handlebars.
Wrapping Up
This simple DIY task can significantly impact your riding comfort and control, and with your new grips installed, you're ready to tackle more adventurous rides across Australia’s diverse landscapes. Remember, regular maintenance of your bike components, including the grips, ensures a safer and more enjoyable cycling experience. Happy riding!
Pic: https://blygo.com.au/product-category/handle-bar-control-cable/hand-grips/